
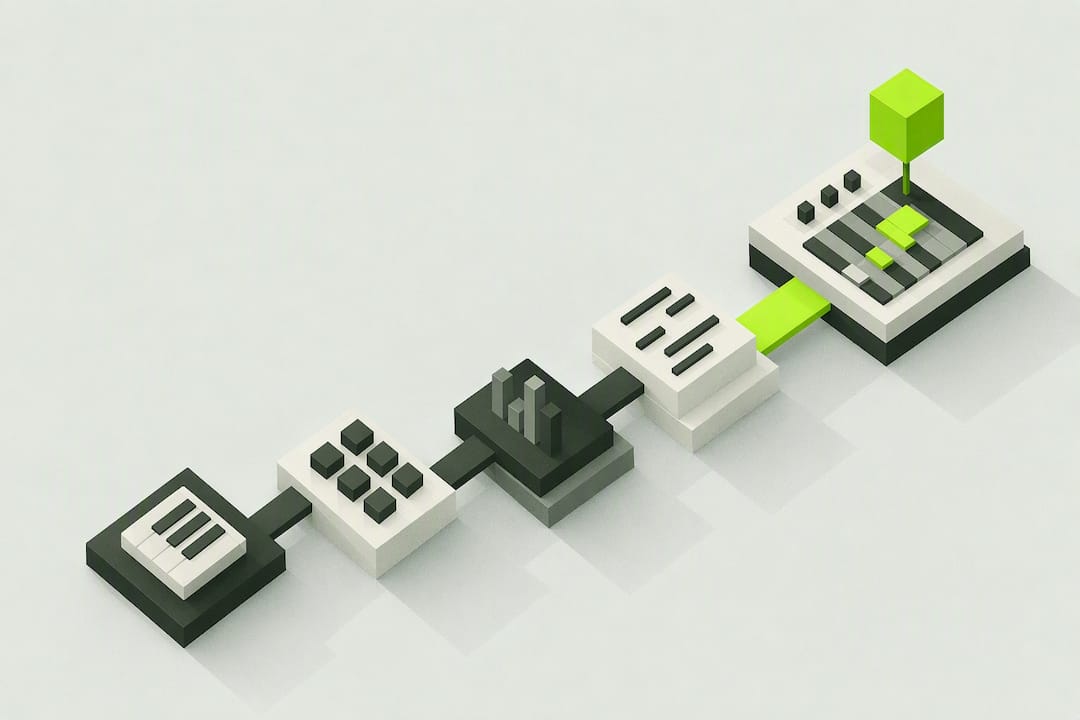
Learn four things: scales, chords, chord progressions, and one repeatable arrangement workflow (key, then chords, then bass, then melody, then structure). Open your DAW right now, pick a key, and turn on scale highlighting in the piano roll so every note you click lands in key. Everything below breaks that into short, session-ready exercises.
TL;DR:
- Lock your scale before creating leads to prevent fixing wrong notes later and ensure all elements stay in key throughout the session.
- Use common chord progressions like I–V–vi–IV or ii–V–I and program bass notes to follow each chord root for clearer low end and easier arrangement.
- Write short motifs on strong beats with chord tones and vary rhythms and contour to craft memorable melodies without overcomplicating.
- Syncopate drums and offset bass and kick to create groove while tuning bass to chord roots to avoid muddy, clashing low frequencies.
- Build your track step-by-step by first choosing a key, then layering chords, bass, melody, and arrangement to create a coherent, arranged song rather than jumping into melody prematurely.
Table of Contents
- Music Theory for Producers Starts With Scales and Keys
- How Do You Build Chord Progressions That Actually Work?
- Melody Writing Techniques That Turn a Loop Into a Hook
- Why Rhythm and Bass Tuning Make or Break Your Low End
- How Chord Progressions Shape Your Arrangement
- A Session Template: Key, Chords, Bass, Melody, Arrange
- A 3-Week Practice Plan for Learning Theory in Your DAW
- Applying the Workflow in The DeputIE
- Using Modal Interchange and Modal Scales in Production
- Advanced Chord Extensions: 7ths, 9ths, 11ths, and 13ths
- Voice Leading Techniques for Smoother Chord Transitions
- Counterpoint and Harmony Layering in Electronic Music
- Tension and Resolution With Non-Diatonic Chords
- Bassline and Drum Interactions Beyond Tuning
- Why Practical Theory Beats Classical Theory for Producers
- Turn This Workflow Into Finished Tracks With The DeputIE
- Sources
- FAQ
Music Theory for Producers Starts With Scales and Keys
A scale is just a set of notes that sound like they belong together, and a key tells your DAW which of those notes is "home." That's it. You don't need to read notation to use either one. What matters is that once you pick a key, every chord, bassline, and melody you write can pull from the same pool of notes, which is why tracks built without a key in mind so often sound like three different songs fighting each other.
Picking a key first also solves a problem most self-taught producers hit in month one: sample clash. If you drop in a vocal chop, a guitar loop, and a synth patch from three different packs, they were probably made in three different keys. Committing to one key before you build anything means every new element gets checked against it instead of guessed at by ear.
For genre-specific choices: major scales tend to sound bright and are common in pop, house, and commercial hip hop. Natural minor carries more weight and shows up constantly in trap, drill, and cinematic trailer music. Pentatonic scales, which strip the scale down to five notes, are the fastest way to write a topline that never hits a wrong note, because there's less to clash with in the first place.
A few concrete moves to make in your DAW today:
- Turn on scale highlighting or "scale lock" in your piano roll (available natively in most modern DAWs) and set it to your chosen key.
- If you're building around a sample, drag it into a pitch or key detector plugin, or use your DAW's built-in key detection, before writing anything else.
- Start in C major or A minor if you're new to this. Both use only white keys on a piano roll, which makes the shapes easier to see and remember, according to LordReverb's beginner framework.
- Try a pentatonic scale the next time you're stuck on a melody. Fewer notes, fewer bad options.
Pro Tip: Lock your scale before you touch a single lead sound. Producers who pick the instrument first and the key second end up "fixing" wrong notes for twenty minutes instead of writing.
How Do You Build Chord Progressions That Actually Work?
Chords come directly from your scale, and you don't need a music degree to stack them. Take any note in your scale, skip one, add the next, skip one, add the next. That three-note stack is a triad. Do that starting on every note of the scale and you get seven chords, which is your entire diatonic palette for that key.
In C major, that gives you C major, D minor, E minor, F major, G major, A minor, and B diminished. Musicians label these with Roman numerals (I, ii, iii, IV, V, vi, vii°) instead of note names, because the pattern of major, minor, and diminished chords stays identical in every major key. Learn "I–V–vi–IV" once and you can transpose it into any key without relearning anything.
Here are six progressions worth keeping in a template file:
- I–V–vi–IV: the most-used pop progression on record; upbeat, radio-ready, works in almost any major-key genre.
- vi–IV–I–V: same four chords, different starting point; slightly more melancholic opening.
- I–IV–V–I: classic and stable, good for straightforward verses or blues-adjacent material.
- ii–V–I: the backbone of jazz and neo-soul; smooth, resolved, great for R&B-leaning beats.
- i–VII–VI–VII: minor-key staple in trap and cinematic trailers; loops well without resolving fully.
- i–iv–V–i: minor with a strong pull back to the tonic, useful for darker, driving sections.
Setting your piano roll to the project's scale before you drag in these shapes prevents the accidental out-of-key note that's easy to miss on a fast build.
One practical fix for muddy low end: don't stack every chord tone in the same low octave. Move the root down into your bass layer and voice the chord itself an octave or two higher, or use inversions (reordering which note sits on the bottom) to keep the top of the chord moving without crowding the sub range.
Melody Writing Techniques That Turn a Loop Into a Hook
A motif is a short musical idea, usually two to four notes, that you repeat and reshape across a track. It's the single most efficient melody tool available to producers because it gives listeners something to latch onto without demanding you write sixteen bars of "proper" melody. Contour, the shape a melody makes as it moves up and down, matters more than the exact notes; a motif that mostly steps by adjacent notes but throws in one unexpected leap will always sound more memorable than one that either crawls or jumps constantly.
The rule that fixes most amateur melodies instantly: put chord tones (notes that belong to the underlying chord) on strong beats, and let passing tones (notes outside the chord) sit on weak beats or between them. This is the single biggest reason professional-sounding toplines feel intentional instead of random.
Three exercises to run this week:
- Write one two-bar motif using only three notes from your scale. Keep it simple on purpose.
- Create three variations: transpose it up a third, reverse the contour, and change the rhythm while keeping the same pitches.
- Humanize it. Nudge a few notes off the grid by a few milliseconds and vary the velocity (how hard each note is "hit") so it doesn't sound mechanically quantized.
Production choices affect how a motif lands as much as the notes themselves. Layer a simple lead with a softer sub-layer an octave below for weight, automate a low-pass filter on the tail of phrases for movement, and pick a lead patch with some harmonic complexity rather than a bare sine wave. Repetition with small variation is what separates a hook you remember from a melody you forget by the second chorus.
Pro Tip: If a melody isn't sticking, cut it in half. Most unmemorable toplines are trying to say too much. A four-note idea repeated with variation almost always beats an eight-bar melody nobody can hum back.
Why Rhythm and Bass Tuning Make or Break Your Low End
Most electronic and hip hop production sits in 4/4 time, meaning four beats per bar, and everything else, your hi-hats, snares, and syncopated stabs, is built from subdividing that grid into eighths, sixteenths, or triplets. Syncopation, placing a hit slightly off the expected beat, is what turns a stiff loop into something that grooves. A simple starting pattern: keep your kick on beats one and three, but push the snare or clap slightly ahead or behind the standard backbeat and see how the pocket shifts.
The rhythm side is only half the job. The other half is tuning your bass or 808 to the root note of whatever chord is playing underneath it. Skip this and you get phase clashing and muddy low end even when everything is technically "in key" on paper. Most DAWs let you transpose a sampled 808 per MIDI note, so a single sample can follow your entire chord progression without needing seven different bass recordings.
Before you call a loop finished, run this low-end checklist:
- Does the bass note change every time the chord changes, or is it stuck on one pitch?
- Solo the kick and bass together. Do they compete for the exact same frequency, and does one need sidechain compression?
- If you pitch-shifted a sample more than a few semitones, does it still sound clean, or has it started to sound thin or artifacted?
Tuning pitched percussion to the chord's root is one of the fastest fixes available to a producer who feels like their mix is "muddy" but can't identify why.
How Chord Progressions Shape Your Arrangement
A song isn't just a loop repeated with different drums on top. It's a sequence of sections, typically intro, verse, pre-chorus, chorus, bridge, and outro, and harmony is doing real work in each one. Verses tend to sit on calmer, more stable progressions. Pre-choruses often introduce a chord borrowed from outside the main scale or simply raise the harmonic tension to signal "something's coming." Choruses usually return to the most stable, most resolved version of your progression, which is part of why they feel like a release.
The single most useful trick here is the pull from V to I (or i in a minor key), the dominant-to-tonic move. That resolution is baked into how western harmony works, and producers use a shortened version of it constantly: a one-bar or two-bar stretch on the V chord right before the chorus drops, sometimes called a V-bar, creates tension that resolves the instant the chorus hits.
Beyond chords, a handful of transition devices do most of the heavy lifting between sections:
- Strip-back: drop most elements out except one or two, then build back in.
- Riser: a pitched or noise sweep that climbs into the next section.
- Rhythmic fill: a drum fill or stutter edit in the last bar of a section.
- Filter sweep: automate a low-pass or high-pass filter to build or release energy.
Run through this checklist before calling an arrangement done: does every section change something (chords, energy, instrumentation), and does at least one section use a V-chord or tension device to set up the next drop?
A Session Template: Key, Chords, Bass, Melody, Arrange
Most stalled sessions come from skipping straight to melody before the foundation exists. Following the same five-step order every time removes that guesswork.
- Pick a key and lock it. Enable scale highlighting in your piano roll before you play a single note. If you're building from a sample, run it through a key detector first.
- Build your chord track. Stack triads from your scale, pick a progression from the six starters above, and program it in a chord or MIDI track so every other part can reference it visually.
- Tune your bass to the chord roots. Whether it's an 808, a sub bass, or a bass guitar sample, make sure the pitch shifts with each chord change instead of sitting static.
- Write your melody against the chord track. Land chord tones on strong beats, add passing tones on weak beats, and keep your first pass to a short motif rather than a full melody.
- Arrange the sections. Duplicate your loop across intro, verse, chorus, and bridge markers, then vary instrumentation and harmonic tension (a borrowed chord, a V-bar) so each section feels distinct.
For MIDI tools, scale-lock plugins and chord-generator instruments (many DAWs include these natively, and third-party MIDI effect plugins add more control) are worth using as a training wheel, not a permanent crutch, since the goal is recognizing these patterns by ear over time. When you're ready to hand a track to a collaborator or move it into a different DAW, export the chord and melody tracks as standard MIDI files through platforms like BananaSpace, which keeps every note and velocity value intact rather than just bouncing audio.
Pro Tip: Save this five-step order as a DAW template with empty chord, bass, and melody tracks already labeled. Starting every session from a blank project is where most of the wasted time actually happens.
A 3-Week Practice Plan for Learning Theory in Your DAW
Theory sticks when it's tied to something you build, not something you memorize. Fifteen to thirty minutes a day, done consistently, beats an occasional three-hour cram session.
- Week 1, keys and triads. Pick one key (start with C major or A minor) and stay in it all week. Practice building all seven diatonic triads from scratch in the piano roll, and use scale-lock every session until the shapes feel automatic.
- Week 2, progressions and bass. Take three progressions from the six starters above, program each one, and tune a bass or 808 to follow each chord's root. Turn two of these into short 8 to 16 bar loops.
- Week 3, melody and arrangement. Write one motif per loop from Week 2, create three variations of it, then arrange one full section map (intro through chorus) around your strongest loop. Finish one short track, even a rough one, by the end of the week.
Checkpoint at the end of each week: can you build that week's skill in a brand-new key without checking notes? If not, repeat the week before moving on.
Applying the Workflow in The DeputIE
The DeputIE maps this exact workflow into dedicated workspaces instead of leaving you to juggle plugins. Its visual sequencer and chord progression tool let you sketch diatonic chords and hear them instantly, its theory panels show you what's in and out of key as you work, and its manuscript and tablature views cover notation and guitar or bass parts without forcing you to learn either from scratch.
A typical session looks like this: sketch a chord progression in the chord tool, refine a melodic motif against it in the visual sequencer, check the arrangement against the built-in theory panel, then export the whole thing as MIDI into your DAW to finish mixing. Full export details and workspace walkthroughs are in the DeputIE user manual.
- Chord progression tool for building and auditioning diatonic progressions
- Visual sequencer for motif and melody sketching
- Theory and learning panels showing in-key versus out-of-key choices in real time
- MIDI export for finishing in your existing DAW
Using Modal Interchange and Modal Scales in Production
Modal interchange means borrowing a chord from the parallel version of your key. In C major, that means grabbing chords from C minor, like the flat-VI (Ab major) or flat-VII (Bb major), and dropping them into an otherwise major progression. It's how a chorus in a major key can suddenly feel darker for one bar without derailing the whole song.
Modes themselves are the seven scales you get by starting a major scale on a different note. Dorian (minor with a raised sixth) is common in house and funk because it feels minor but less heavy. Mixolydian (major with a flattened seventh) shows up constantly in rock and certain strains of hip hop for its slightly unresolved, bluesy pull. Phrygian, with its flattened second, gives flamenco and some trap-adjacent beats their distinctive tension.
You don't need to memorize all seven modes to use this. The practical move is simpler: take your existing major or minor progression, swap one chord for its borrowed equivalent (a flat-VI instead of a vi, for instance), and listen to what changes. If it adds the right amount of tension, keep it. If it feels like it came from a different song, revert. This trial-and-error approach is exactly how most working producers actually use modal interchange, regardless of whether they can name the mode they borrowed from.
Advanced Chord Extensions: 7ths, 9ths, 11ths, and 13ths
A basic triad is three notes. Add a fourth note a third above the top and you get a seventh chord, the first and most useful extension for producers moving past plain major and minor triads. Major seventh chords sound lush and are a staple of neo-soul and lo-fi. Dominant seventh chords, built on the V chord, add pull toward resolution. Minor seventh chords soften a minor triad, making it feel moodier rather than harsh.
Stack another third and you get a ninth chord, common in house, R&B, and jazz-influenced pop for that "wider" harmonic color. Elevenths and thirteenths keep stacking further, but in practice, most producers use them selectively, often dropping the middle notes of the stack (a common jazz-voicing trick) so the chord doesn't turn into an undifferentiated cluster in a dense mix.
The practical rule: extensions add color, not structure. Swap a plain triad for its seventh-chord version in a chorus or bridge to add richness without changing the underlying progression at all. If a mix already feels busy, stick with triads in the low-mid range and save extended chords for sparser sections where there's room for the extra notes to breathe.
Voice Leading Techniques for Smoother Chord Transitions
Voice leading is the practice of moving between chords using the smallest possible pitch movement in each individual note, rather than jumping the whole chord to a new position. Instead of replaying a C major triad and then a completely repositioned F major triad an octave away, you keep shared notes in place and move only the notes that need to change.
In a DAW piano roll, this looks like keeping your chord voicings clustered in a similar register from one chord to the next, rather than letting each chord jump around unpredictably. Practically: when moving from a C major to an A minor chord, both share the notes C and E, so keep those in place and only move G to A. That one-note movement is what makes the transition sound connected instead of jarring.
This matters most in slower or more harmonically dense sections, ballad-style intros, ambient breakdowns, chord-heavy R&B, where every chord change is exposed and audible. In fast, percussive genres where chords are mostly felt rather than heard clearly, voice leading matters less. Most modern DAWs let you drag individual notes within a chord block, which makes manual voice leading straightforward even without deep theory knowledge, once you know to keep an eye on shared notes between adjacent chords.
Counterpoint and Harmony Layering in Electronic Music
Counterpoint is the technique of writing two or more independent melodic lines that work together harmonically without one simply doubling the other. In electronic music, this rarely means writing formal Bach-style counterpoint. It usually means a bassline moving independently of a lead melody, a pad holding long chord tones while an arpeggio moves quickly above it, or a vocal chop weaving between the gaps left by a synth line.
The core rule that keeps layered parts from turning into noise: give each part its own rhythmic space. If your lead is hitting mostly on the beat, put your counter-melody or arpeggio on the off-beats. If your pad is static and sustained, let a plucked or arpeggiated line move quickly against it. This contrast in rhythm and register (high versus low, sparse versus busy) is what lets a listener's ear track multiple lines at once instead of hearing mush.
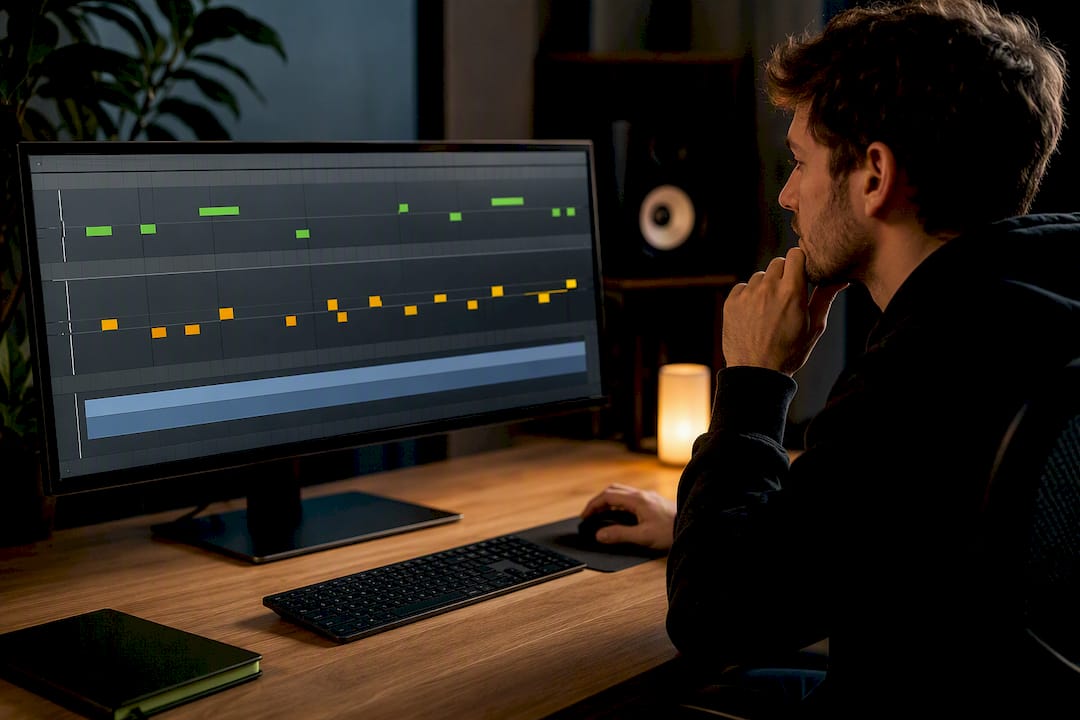
A simple exercise: take a chord progression you've already built, write a slow-moving pad on the chord tones, then write a second, faster line using the same scale that moves in the opposite direction, up while the pad holds or descends. Layering harmony this way, rather than stacking identical melodic content in different octaves, is what gives dense electronic arrangements their sense of depth without needing more instruments.
Tension and Resolution With Non-Diatonic Chords
Diatonic chords are the ones that come naturally from your scale. Non-diatonic chords borrow notes from outside it, and chromaticism, moving by half steps outside the scale, is one of the most reliable tools for building tension before a drop or chorus. A dominant chord borrowed from the harmonic minor scale, for example, adds a sharpened note that doesn't belong to natural minor, and using it right before resolving back to the tonic minor creates a noticeably stronger pull than a plain diatonic V chord would.
The practical entry point is the secondary dominant: a major chord built on the fifth degree of a chord other than your tonic, used to briefly "tonicize" that chord before moving on. You don't need the formal label to use it; the ear test is simple. Take a chord in your progression, build a major triad a fifth above it, and slot that in as a one-beat or one-bar passing chord right before the target chord. If it makes the arrival feel more decisive, it's working.
Chromatic passing chords work similarly in basslines and melodies: a single half-step movement between two chord tones, even for a sixteenth note, adds friction that makes the next resolved note feel more satisfying. Use this sparingly. A track with a non-diatonic chord in every bar stops feeling tense and starts feeling directionless, because tension only registers against a backdrop of stability.
Bassline and Drum Interactions Beyond Tuning
Tuning your bass to the chord root solves pitch clashes, but it doesn't solve rhythmic clashes, and that's where a lot of otherwise well-written tracks fall apart in the low end. If your kick and bass hit on the exact same beat with the same note length every single bar, they blur into one indistinct low-frequency event, even when perfectly in tune.
The fix is rhythmic interlocking: let the kick and bass occupy different points in the bar rather than always landing together. A common pattern is anchoring the kick on the downbeat while letting the bassline syncopate around it, filling the gaps the kick leaves open rather than doubling it. This is most audible in genres like house and garage, where the bassline's groove is often more responsible for a track's energy than the melody sitting on top of it.
Drum interaction with the bass extends beyond the kick, too. A hi-hat pattern that shares no rhythmic space with the bassline (hats on the off-beats, bass hitting mostly on-beat, for instance) reads as busier and more energetic than one where both parts crowd the same subdivisions. Try muting everything except the kick, bass, and hi-hat, and check whether each element has a moment where it's the only thing moving. If two elements are always moving together, one of them is redundant, and cutting or shifting it usually opens the groove up more than adding a new sound would.
Why Practical Theory Beats Classical Theory for Producers
Most music theory education was never built with a DAW in mind, and that mismatch is the real reason so many self-taught producers avoid theory altogether. You don't need to sight-read, name every mode by ear, or diagram a Neapolitan sixth chord to write a track that moves people. What you need is the handful of tools covered here, applied inside the piano roll, over and over, until they stop feeling like theory and start feeling like muscle memory.
The gap worth naming: producers who learn theory from books often get stuck translating notation into DAW actions, while producers who learn theory backwards, from the DAW outward, tend to internalize it faster because every concept is immediately audible and editable. That's the whole logic behind starting with scale-lock instead of a scale diagram.
Once the basics from the practice plan feel automatic, the more advanced tools, modal interchange, extended chords, secondary dominants, aren't there to make your music sound "smarter." They're there to solve a specific problem when a progression feels flat or a transition feels abrupt. Reach for them when something's missing, not because a checklist says you should. A tool like The DeputIE can help make that experimentation faster once the fundamentals are second nature.
— Vigilantie
Turn This Workflow Into Finished Tracks With The DeputIE
Most producers already know the theory in pieces. What's missing is a workspace that keeps key, chords, and melody visible at the same time instead of scattered across three plugins and a browser tab. The DeputIE is built around that gap: a visual sequencer and chord progression tool that show you what's in key as you work, without an algorithm writing the part for you.
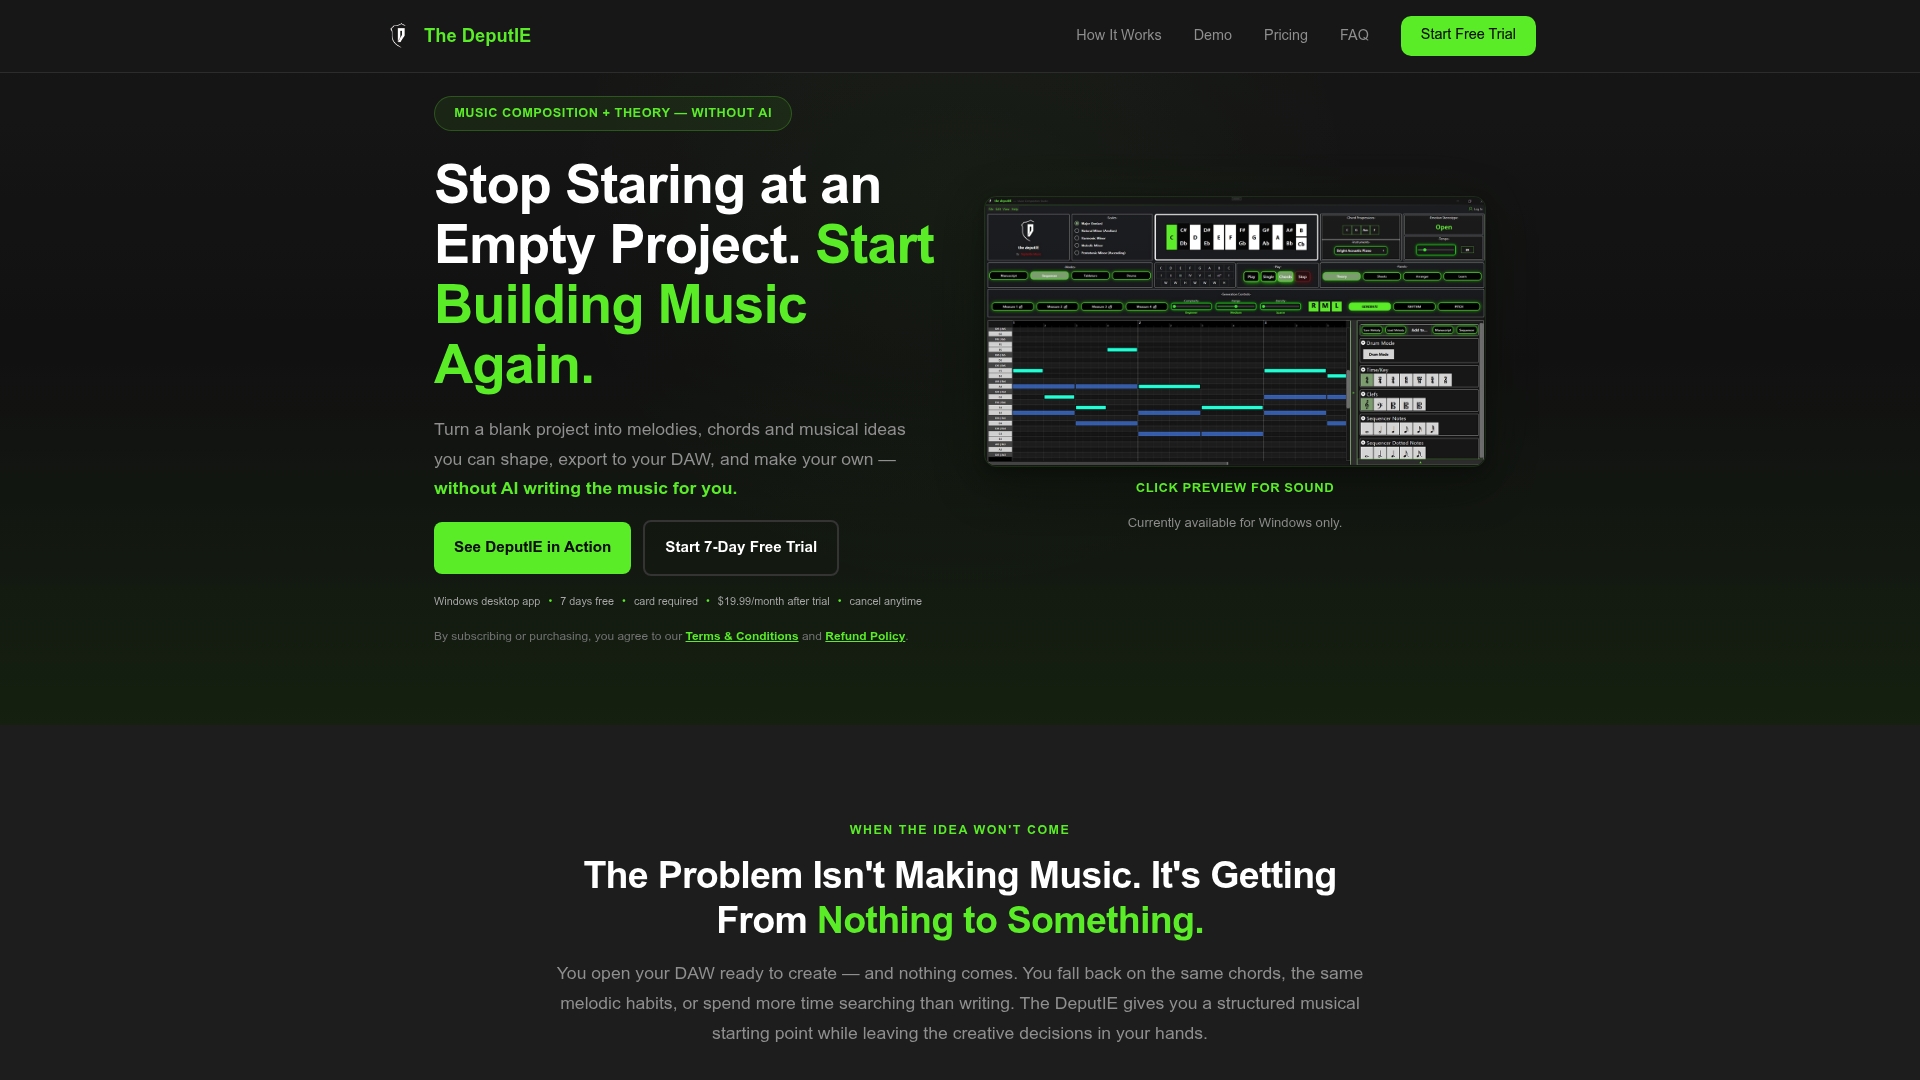
That distinction matters if you've tried AI music generators before. DeputIE doesn't generate a finished idea and hand it to you; it gives you structured, theory-guided tools so you build the progression, the motif, and the arrangement yourself, then export everything as MIDI straight into your existing DAW. You keep authorship over every note.
A 7-day free trial gets you into all the workspaces, including the theory panels covered throughout this guide. After that, DeputIE runs $19.99 per month or $129.99 per year on the DeputIE subscription page. If you want the feature and export details first, the full user manual walks through every workspace before you commit to anything.
Sources
- Musicproductionwiki
- Musictech
- How to Make a Melody: Write Hooks That Stick
- Music Theory for Producers: A Complete Beginner's Guide | LordReverb
FAQ
Do Producers Need to Learn Classical Music Theory?
No. Producers need scales, chord construction, common progressions, and basic arrangement logic, all applied directly in a DAW piano roll rather than on paper. Practical, DAW-first guides consistently point to these four areas as sufficient for writing finished tracks.
What Is the Fastest Way to Learn Music Theory Basics for Beginners?
Pick one key, most guides recommend C major or A minor since both use only white keys, and build all seven diatonic triads from it in your piano roll. Repeating that single exercise for a week builds more usable knowledge than reading a full theory textbook.
Which Chord Progressions Should I Learn First?
Start with I–V–vi–IV and ii–V–I, since between them they cover most pop, house, and R&B-adjacent styles. Both transpose easily once you know the Roman numeral pattern, so the same shapes work in any key.
How Do I Tune an 808 or Bass to My Chords?
Identify the root note of each chord in your progression, then transpose your bass or 808 sample to match that root on every chord change rather than leaving it on one static pitch. This single fix resolves most of the muddy or clashing low end producers run into.
Can Software Replace Learning Music Theory?
Software can speed up applying theory, but it works best alongside understanding, not instead of it. Tools like The DeputIE provide chord and scale visualization so you make informed choices in real time, rather than generating finished parts for you.